
There are three ways to put an eSIM on a phone, and the one you should use depends entirely on which phone you are holding. Most guides show you one of them, which is why so many people end up stuck on the step the guide skipped.
This one covers all three — the one-tap link, the QR code and manual entry — for iPhone and for Android, plus the settings you have to get right afterwards and what to do when something refuses to work. It should take about five minutes end to end, and you should do it at home, days before you fly.
Key takeaways
- Install at home, days early — installing is free and reversible in effect; installing at the gate is not.
- Installing and activating are different things. The clock starts when the eSIM first meets a network abroad, not when you add it.
- Three install methods exist; which one you use depends on which device you are holding.
- Most failures are settings, not a broken eSIM — four of them decide whether it works.
Install and Activate Are Not the Same Thing
This trips up almost everyone, so it is worth two sentences up front.
Installing puts the profile on the phone. It happens over Wi-Fi, wherever you are, and it does not start your plan, does not consume any data, and cannot be undone by turning the phone off. Activating happens by itself, later, the first time that eSIM connects to a network at your destination — that connection is what starts the validity clock.
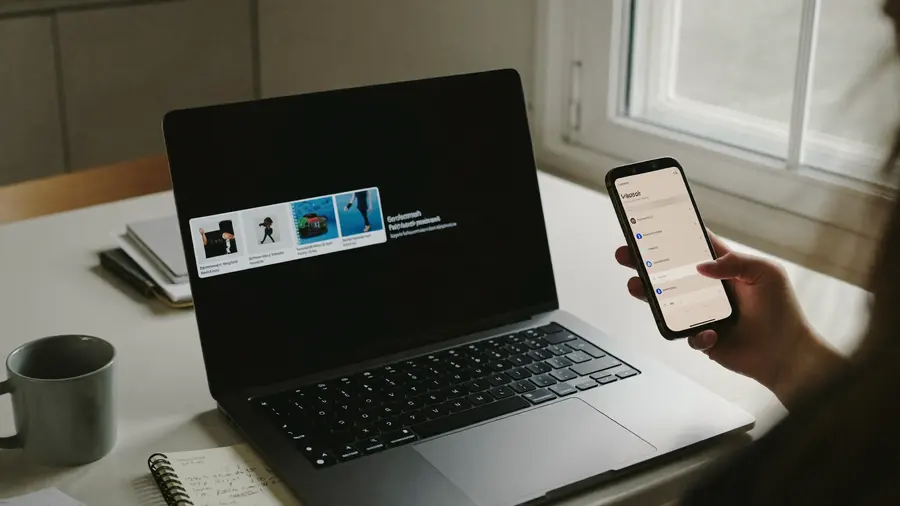
On the phone you are actually taking, not on the laptop the delivery eMail happens to be open on. Two of the three checks can only be answered from the handset itself.
Before You Start: Three Checks
- Is the phone eSIM-capable? Almost anything sold in the last few years is. Rather than guess from a model name — the same model can differ by region — run the device compatibility check.
- Is the phone carrier-unlocked? A locked handset rejects a foreign eSIM even though the hardware supports it perfectly well. This is a contract restriction, not a technical one, and your operator can usually lift it for free once the phone is paid off — but it can take a day or two, so check this first, not last.
- Are you on Wi-Fi, on the phone you are actually taking? The install needs an internet connection, and the profile can only be installed once. Both of those matter more than they sound.
Method 1: The One-Tap Link (Easiest)
When you buy on the phone you are travelling with, you never have to see a QR code at all. The delivery eMail contains an Install eSIM button. Tapping it hands the profile straight to your operating system — Apple and Google both publish a standard handler for exactly this — and your phone opens its own native install dialog.
- Open the delivery eMail on the phone.
- Tap Install eSIM.
- Your phone asks whether to add the plan. Confirm.
- Give the line a label. Travel is a good one — you will be switching between lines and the default names are not memorable.
That is the whole thing. Ten to thirty seconds. If the button does nothing, you are almost certainly reading the eMail on a laptop — use the QR code below instead.
Method 2: The QR Code
Use this when the eSIM is going onto a different phone from the one you bought with — a partner's handset, a second phone, a device the eMail is not open on. Open the eMail on a laptop or a second screen so the code is on something you can point a camera at.
On iPhone
-
Open the eSIM screen
SettingsMobile DataAdd eSIM — the middle one is called Cellular in some regions.
-
Choose Use QR Code
The scanner opens straight away.
-
Point the camera at the code
Confirm the plan when it appears.
-
Label the line
Then pick your default line for calls and messages when prompted.
You can also just open the Camera app and point it at the code — iOS recognises an eSIM code and offers a notification that takes you to the same dialog.
One thing to ignore: Transfer From Nearby iPhone. That is eSIM Quick Transfer, for moving your existing home line between your own devices. It has nothing to do with a travel eSIM.
On Android
The menu differs by manufacturer. The two most common:
Google Pixel — SettingsNetwork & InternetSIMs+ (Add SIM). When it asks you to insert a physical SIM, look for the small line that says Download a SIM instead? and tap that. Then Next, and scan.
Samsung Galaxy — SettingsConnectionsSIM ManagerAdd eSIMScan QR code from service provider.
On other Android phones the wording varies but the path is always some version of network settingsSIM cardsadd. The step people miss is the Pixel one: the phone assumes you mean a plastic SIM, and the eSIM option is deliberately understated.
Method 3: Manual Entry
Use this when the camera will not focus, when the code is printed rather than on a screen, or when the scan fails for no obvious reason. Every eSIM comes with the same information in text form, because the QR code is only a picture of that text.
You need two values, both in the delivery eMail:
- SM-DP+ address — the server holding your profile. It looks like a domain name.
- Activation code — a long string of letters and digits identifying which profile is yours.
On iPhone: SettingsMobile DataAdd eSIMUse QR CodeEnter Details Manually — the last one is at the bottom of the scanner screen and is easy to miss. On Android, the same screens offer an enter code manually option.
After the Install: The Four Settings That Decide Whether It Works
The profile being on the phone is not the same as the phone using it. A dual-SIM handset asks you three separate questions about which line does what, and travellers get one of them wrong constantly.
| Setting | Set it to | Why |
|---|---|---|
| Mobile data | The travel line | This is the one that carries your data abroad |
| Data roaming, travel line | On | A travel eSIM roams. Off means no data |
| Data roaming, home line | Off | The setting that makes surprise bills |
| Calls and messages | Your home line | Keeps your number and bank codes arriving |
The second and third rows are the same switch on two different lines, in opposite positions, and that is exactly why it goes wrong. Set both deliberately.
Leave Allow Mobile Data Switching (iPhone) or its Android equivalent off. It lets the phone fall back to your home line when the travel line is slow — which is helpful at home and expensive abroad.
You should not need to touch the APN. Travel eSIMs configure it automatically, and hand-editing it is a common way to break a connection that was about to work.
When You Land
Take the phone off aeroplane mode and wait. Registration on a local network takes anywhere from a few seconds to a couple of minutes, and the honest answer is that it is usually slower in a busy arrivals hall than it will be an hour later.
You will know it worked when the carrier name at the top of the screen changes to a local operator. That moment is also when your plan starts counting — a seven-day plan that first connects at 14:55 expires at 14:55 seven days later.
When It Goes Wrong
| What you see | What it usually means |
|---|---|
| "Unable to add Mobile Data plan" | No internet during the install, or the phone is carrier-locked. Try a different Wi-Fi network first, then check the lock |
| "This code is no longer valid" | The profile has already been installed once — on this phone or another. An activation code is single-use |
| Installed, but no signal at the destination | Give it two minutes, then toggle aeroplane mode. If still nothing, select a network manually in settings rather than automatically |
| Signal bars, but nothing loads | Data roaming is off on the travel line, or mobile data is still pointed at your home line |
| It worked, then stopped | The allowance ran out, or the validity expired. Both are visible in your account |
| The line vanished after a phone reset | A factory reset wipes eSIM profiles. This is the one genuinely unrecoverable case — the code is spent |

A profile installs once. Airport Wi-Fi, a boarding call and a single-use activation code are a poor combination, and it is the most common way a working eSIM becomes a support ticket.
Three Things Not to Do
- Do not delete the profile while data is left on it. Removing an eSIM is not like taking a card out of a tray. The activation code is spent, so it generally cannot be put back — and the remaining data goes with it.
- Do not install it on two phones "to see which works". The first one wins and the second gets an error. Decide before you scan.
- Do not leave it until the airport. Captive portals, timeouts, a queue behind you and a boarding call is the worst possible environment for a step that needs a stable connection.
Common Questions
How Early Can I Install It?
As early as you like. Installing does not start the plan, so the day it arrives is a fine day to install it.
Do I Need to Remove My Normal SIM?
No, and you should not. Your home line stays in the phone, keeps your number reachable and keeps receiving verification codes. The travel eSIM sits alongside it.
Can I Move It to a New Phone Later?
Assume not. Some operators support a re-issue and many do not, because the code is single-use. If you are travelling with a spare handset, decide up front which one is the real one.
Will It Work with a Hotspot?
On most plans, yes — tethering a laptop or sharing with a travel companion works normally. A few networks restrict it, so check the plan itself if that is the whole reason you are buying.
What If I Bought the Wrong Destination?
As long as you have not installed it, nothing has started. Get in touch before you scan and it can be sorted out; after installation the profile is bound to that network and it is much harder.
Where to Start
Buy on the phone you are taking, install over home Wi-Fi the same evening, label the line, and set the four switches in the table above. Then forget about it until you land, where the only remaining step is turning aeroplane mode off.
If you are still deciding whether an eSIM is the right thing at all, how an eSIM actually works covers the ground before this one, and our full guide is the deeper reference. If you have not chosen a plan size yet, how much data you actually need does that arithmetic.
And when you know where you are going, compare the plans covering your destination — several mobile networks usually serve the same place, and the differences in price and allowance are only obvious side by side.
Check whether your phone takes an eSIM Answers it from the device you are holding, rather than from a model name.